Showing posts with label girl. Show all posts

Monday, February 7, 2011

My Miracle

We were back at the dr. today with little Miss Miracle. On top of the prednisone and albuterol she now has amoxicillan. She is in a pretty good mood despite not feeling well. I'm guessing it is probably the steroids though!

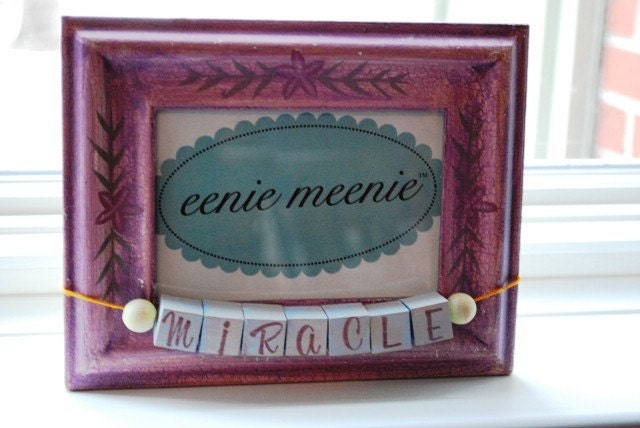
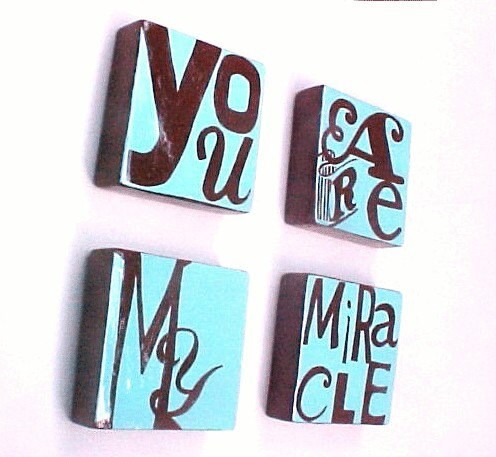
Here are some sweet gift ideas for your little miracles.
Magnetic Block Picture Frame

Scrabble Tile Pendant

Miracle Frame

Life Story Blocks

Saturday, January 29, 2011

Bean Bag Tutorial

I realize bean bags are pretty self explanatory, but the kids and I threw these together last night and they were so fun! I am just learning how to sew, and this tutorial could benefit someone who is a newbie like me!


Supplies needed:

Fabric squares - 2 for each bean bag
Thread
Beans 

**I used 5" squares and black eyed peas. One bag of black eyed peas filled approximately 3 1/2 bags.**

I had purchased a couple of baggies of fabric squares from Designs by Jamie a while back and they were the perfect size for this project. I went with some funky color combos. Colors that were the same and/or looked good together, but not necessarily 'matching'. 

First, place fabric squares right side together and pin. Sew all around the 4 edges leaving a 2" opening for turning. 
Trim the corners and turn bean bag right side out. Now, place a funnel in the opening and fill about 3/4 full of beans. I used black eyed peas because that is what I had on hand, but you could use any kind of bean you would like. If you want to fill them fuller you may have to hand stitch the opening. The kids can help with this part too. Mine loved it. (I got a 4 pack of funnels from Wal-Mart for $1.)
Now just fold in the open edge and do a little top stitch! So simple, and the kids absolutely loved playing with the bean bags.


I'm already planning on who to gift these to! These would be perfect for my nieces and nephews as well as my kids friends. You could do themes, colors, fabric appliques.... 

If you don't want to make these yourself I would love to do it for you! Click on the contact me tab above and we can work something out. Thanks!

Saturday, January 22, 2011

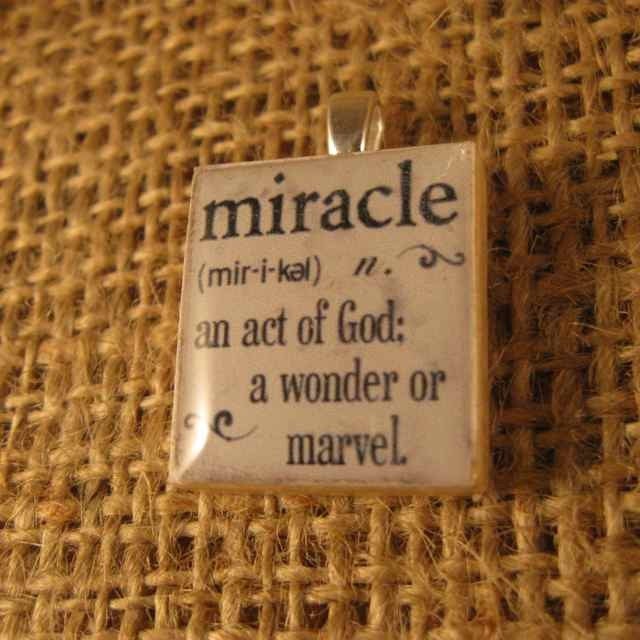
Superhero/ Princess Cape

Several years ago I came up with the idea that I would love to have capes made for my kids and their friends made with Velcro at the neckline so I could stop tying blankets around their necks. At the time I did not know how to sew, so I commissioned someone else to make them for me.
 They turned out so cute and doohikey baby did a wonderful job putting the project together for me. (She is no longer active on etsy.)
My three year old had a friend with a birthday last week and so I decided to try and make little C a cape of her own.
 I love it! My husband was not a fan of the fabric combo when I brought it home, but I think it is perfect for this. I actually originally got the fabric to make a dress for my littlest, but never got around to it.
 All the kids who I originally got these for absolutely love them and still play with them. They are perfect for all types of pretend play. Princes, princesses, and superheroes will love their personalized capes!
If you want one of your own I just did a quick google search for 'free cape tutorial' and came up with this one. Otherwise I would love to make you one! The cost would be $18.50 and you can pick your colors/patterns/shapes/letters. My email is in the contact me tab above.

Saturday, January 15, 2011

Pocket Tissue Pack Holder

My sweet little girly has had a runny nose the last couple of days. She is really loving that she can get a tissue and blow her nose by herself and so I whipped her up one of these tissue pack holders. It went very quickly and used a minimal amount of fabric.
She loved it, and it made her smile on her otherwise icky sick day. It would be fun to make up a little care package for someone with some chicken noodle soup, a movie and one of these. A nice way to make a bad day a little better! They would also be great stocking stuffers or for back to school.

 I found the tutorial to make these cute little things over on the Sew Mama Sew blog.